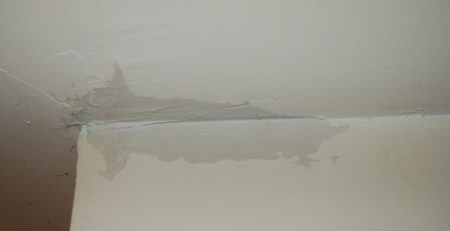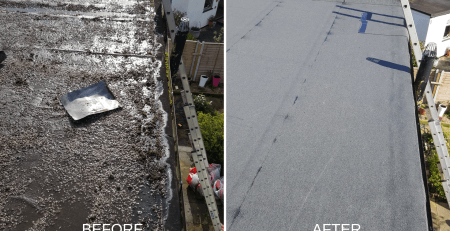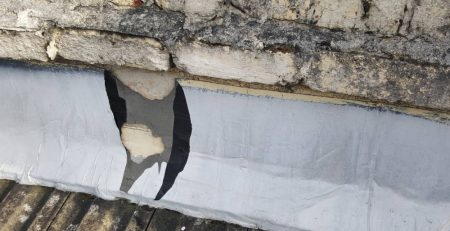
With all the rain that we have had recently, you may have noticed that the felt on your shed roof is showing signs of wear and tear. It may look a little tired or you may have spotted cracks, tears or holes in it. Worse, you may have found that your shed is leaking if the damage has gone through to the roof structure itself. For those DIYers amongst you we have put together a quick guide on how to re-felt your shed roof and protect it from the elements. With the sun now beating down on it, you want to avoid any further degradation and be ready for the winter when it comes back around.
Removing the old felt roof
Start by stripping off the old felt roof that you have. The first thing to do is to remove any fascia boards if you have them. Using a claw hammer, remove the nails holding down the existing felt. Be careful not to rip out any of the timber below or bend the nail such that it’s harder to pull it out. Once you have removed all the nails, simply strip back the old felt. If you have any protruding nails left that can’t be removed, hammer them down flat so that they don’t damage the new felt.
Get the dimensions right
Once you have a clean surface to work with, get your tape measure out to get the right length of felt cut. You will need to allow for edges and overlaps. Typically, allow 5cm for the eaves overlaps and 7.5cm for the gable ends.
For pitched roofs, cut three pieces of felt: one for each side and one for the top ridge. That should overlap each side by about 30cm. For a flat roof cut the length that you need. However, if your shed is longer than average you may want to lay the felt width-wise instead. In this case, cut a number of sections to fit side by side.
Applying the new felt
Pull the felt tight along the roof so that it lies flat against it. You want to avoid any gaps or folds that would allow water and ice in. Once it is taut begin to hammer in your nails. Work at intervals of 10cm or so along the top and make sure you are just off the roof apex. You can have a wider interval along the bottom of the roof – say 30cm or so.
Once you have finished with the side panels, it’s time to get the apex panel on. For this you will need a high-performance felt adhesive and a paintbrush. Apply the adhesive to the underside of the apex panel, secure it down and then add your nails at intervals of about 5cm along the lower edges.
Sort out the ends
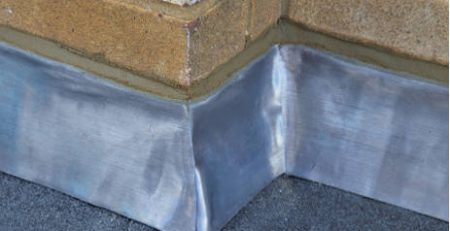
Tidy up the overhanging edges by folding the felt over and nailing it down. For the apex you will need to use a craft knife to cut a slit in the overhang and then fold and nail it down along the gable ends. If you have fascia boards you can now re-attach them. Trim off any excess material. Do the same on the sides by tucking the felt under and securing it in place with nails.
Save time and effort by getting the job done professionally – call our experts at Roof Rescue on 020 3189 1618 and we’ll be right out to fix it for you.